Solar panels are becoming a popular way to generate renewable, clean energy. They are increasingly being used not only as an alternative source of electricity but also as a way to reduce energy costs. However, replacing a roof with a solar panel can become an attractive option for many homeowners. It not only increases the efficiency of energy production, but also adds a layer of protection to the roofing structure.
So when was the last time you considered replacing your roof with a solar panel? If you have one at your home, here is an article that’s going to help you learn how to replace a roof with a solar panel.
Step # 1: Contact a Professional Residential Roofing Company
Deciding what type of roof is best for your home is the first step in replacing your roof with a solar panel. A professional residential roofing company such as Dimensional Pro can help you select the right type of roof for your residential property.
A few things that you need to check with a professional roofing company are:
- Are they experienced?
- Are they licensed in area?
- Are they insured to perform the job?
- Are they bonded by a bonding company?
- Are you willing to provide reference?
If you don’t find the right roofing system, then you may need to find an experienced installer who specializes in solar panel installation.
Step # 2: Prepare the Roof Before Solar Panel Installation
Before installing the solar panels, you first need to clean and inspect your roof.
You have to make sure that the roof is free from unwanted dirt and debris. If there are any other items that are lying on the roof, they can simply interfere with the fixing of the solar panels.
When installing solar panels on the roofing, it’s also essential that you understand which location is the best for installing these panels. Make sure that you hire the right professionals who are experienced in dealing with your roof. It is also advised that you trim away any limbs or shade in the area of the roofing setup which is more likely going to be occupied by the solar setup.
Step # 3: Install the Solar Panels
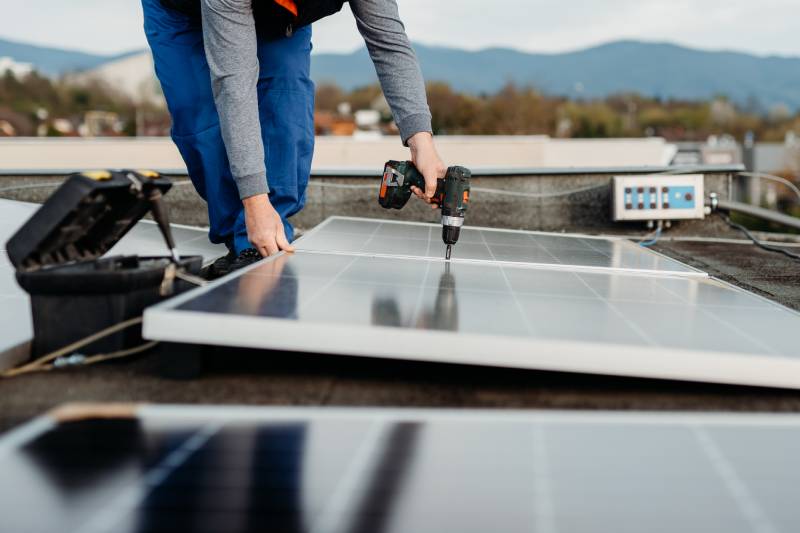
Once you have prepared the roof and selected the right type of installation, it’s now time to install the solar panels. The installation process begins by installing mounting brackets on top of the roof. These mounting brackets will secure the solar panel to the roof. Next up is drilling the hole into the rafters and while doing so, make sure that you are working as per the design requirements of your roof. A good practice is to secure the mount with steel bolts and sealing the area. After this step, installers will screw the solar panels into the mounts and connect the wiring.
Step # 4: Making Connections
The last step is making connections of the solar panel to the rest of the site. This includes connecting the solar panel to a charge controller, inverter, and other components of your solar system.
Once everything is in place, you simply connect the solar panel to the electrical supply and power it on. Once the solar panel is powered on and connected to the electrical supply, it will start generating electricity and saving you money in terms of energy bills.
Concluding Thoughts
Replacing a roof with a solar panel is an attractive option for many homeowners due to its benefits such as increased efficiency of energy production and added protection to the roofing structure. However, it’s important that you hire experienced professionals for the installation process in order to ensure that everything is done correctly. Moreover, it’s also essential that you check the suitability of your roof and take into account factors such as orientation and shading when installing the solar panels.
Following these steps will ensure that your solar panel installation is done correctly.


