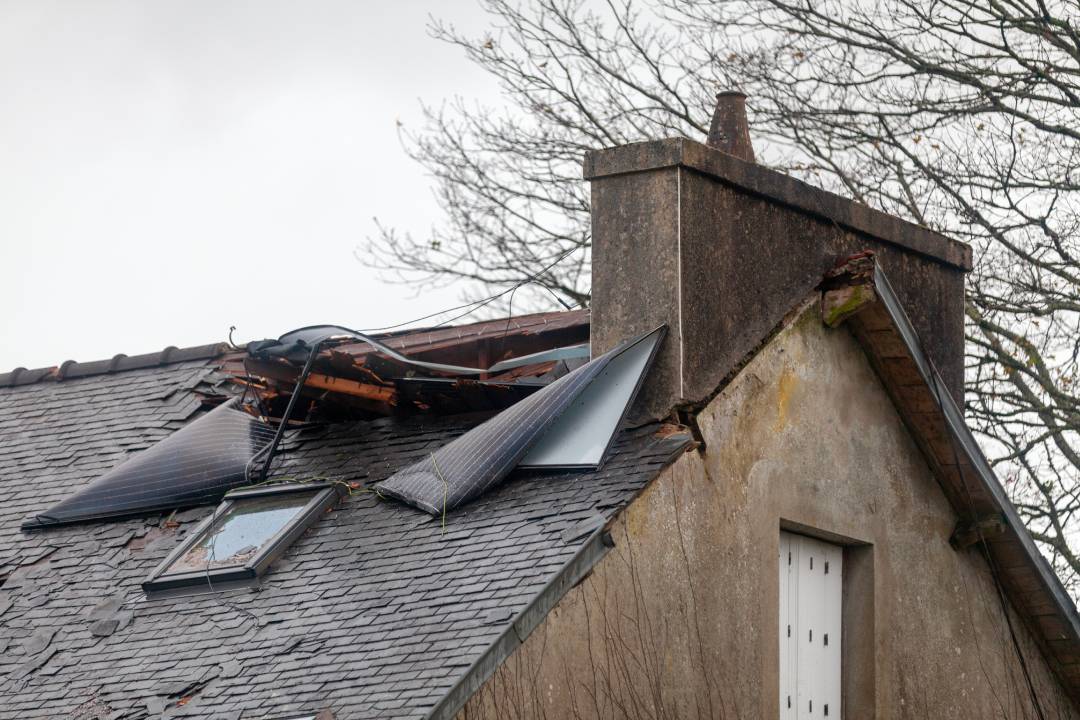

The real trouble often starts when the clouds clear and the storm is over. You go outside, look up, and see that your roof may have taken the worst of the storm. Hail dents, missing shingles, or water stains on your ceiling are all signs that your home’s first line of defense has been broken.
You’re not the only one who has asked themselves, “What do I do next?” after a storm damages their roof. It can be hard to figure out how to file an insurance claim when you’re already dealing with cleanup, repairs, and uncertainty.
Dimensional Pro, has helped a lot of homeowners in North Texas get back on their feet after bad weather. This guide will show you how to file a roof damage insurance claim step by step. You can move forward with confidence and peace of mind from the first inspection to the last repair.
First Step: Start with safety and paperwork.
Before you do anything else, make sure it’s safe to walk on your property. Strong winds and hail can leave behind sharp pieces of debris, buildings that aren’t stable, or problems with electricity.
Look from a Distance
Don’t go up on your roof right after a storm. Instead, snap pictures of any damage you can see around your house, like missing shingles, dented gutters, or branches that have fallen.
Check your ceilings and attic for water spots or leaks.
- Write down the date and time of the storm; your insurance company will need this.
If you can, look up weather reports or news stories that confirm the storm in your area. This can help prove your claim later on.
Tip:
Put all of your notes and pictures in one place, like a folder on your phone or in the cloud. How well you organize later on can make or break your claim process.
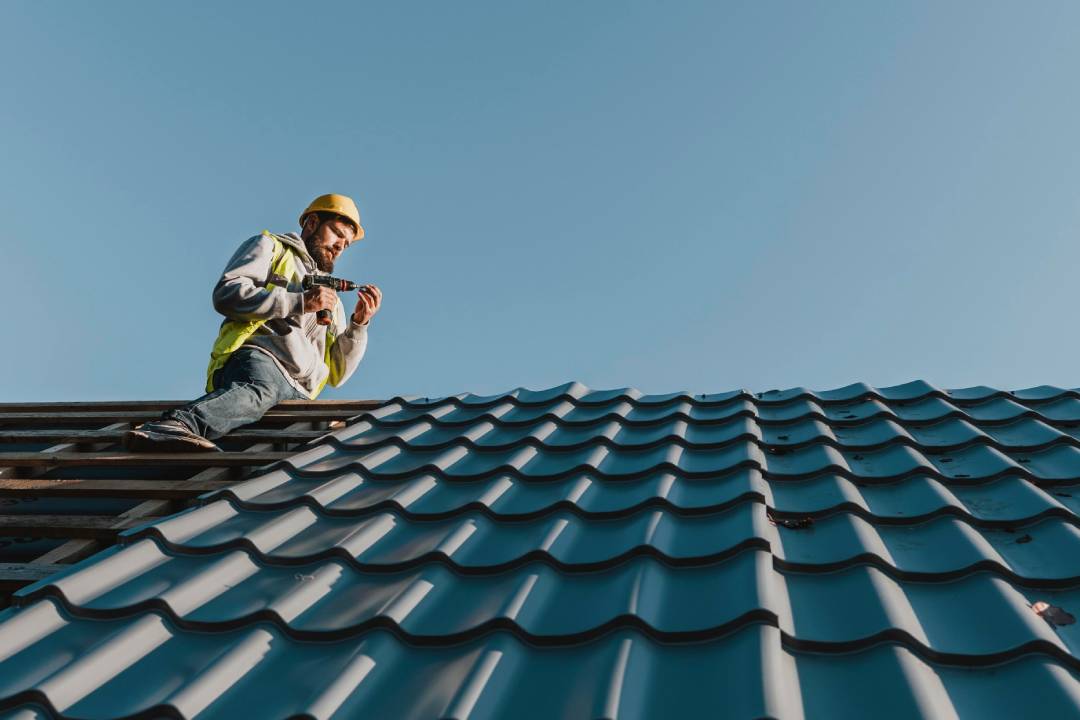
Step 2: Call a Pro to Check Out Your Roof
This is when it is very important to hire a trustworthy local roofing company like Dimensional Pro. Insurance adjusters rely heavily on expert opinions to determine how bad your damage is.
Why It’s Important to Have a Professional Look At
A professional roofer knows how to spot damage that you can’t see from the ground, such as:
- Hail can make shingles soft or bruise them.
- Leaks that are forming and hiding below the surface.
- Flashing damage close to vents or chimneys.
We take pictures of everything we find, write reports about it, and make precise measurements. This can help make sure that your claim shows the full extent of the damage.
When to Get in Touch
The sooner, the better. We suggest that you set up your inspection for 24 to 48 hours after the storm, before any extra damage (like leaks or mold) happens.
Step 3: Look Over Your Insurance Policy
Look over your policy before you call your insurance company. Knowing what your coverage includes can save you time and trouble later.
Look for Important Information
- Know how much you’ll have to pay out of pocket.
- Make sure that storm, wind, or hail damage is covered.
- Filing deadlines: Most policies have a deadline, which is usually 12 months after the storm.
- Does your policy cover a new roof or just patchwork repairs?
Don’t worry if you’re not sure. The Dimensional Pro team can help you understand your policy language and explain what it covers in simple terms.
Step 4: Send In Your Claim Right Away
It’s time to file your claim once you’ve gathered all the paperwork and know what your coverage is.
How to File
Most insurance companies let you make a claim:
- On their website or through their mobile app
- By phone through the claims department
- Directly through your insurance agent
Make sure to include the following when you file:
- The date of the storm
- A short explanation of the damage
- Photos and inspection reports, if they are available
- Any temporary fixes you’ve done to stop more damage (keep the receipts!)
What Happens Next
Your insurance company will send an adjuster to look at the property after you file a claim. Your roofing partner is very important at this point. Having Dimensional Pro there when the adjuster comes means that nothing will be missed or undervalued.
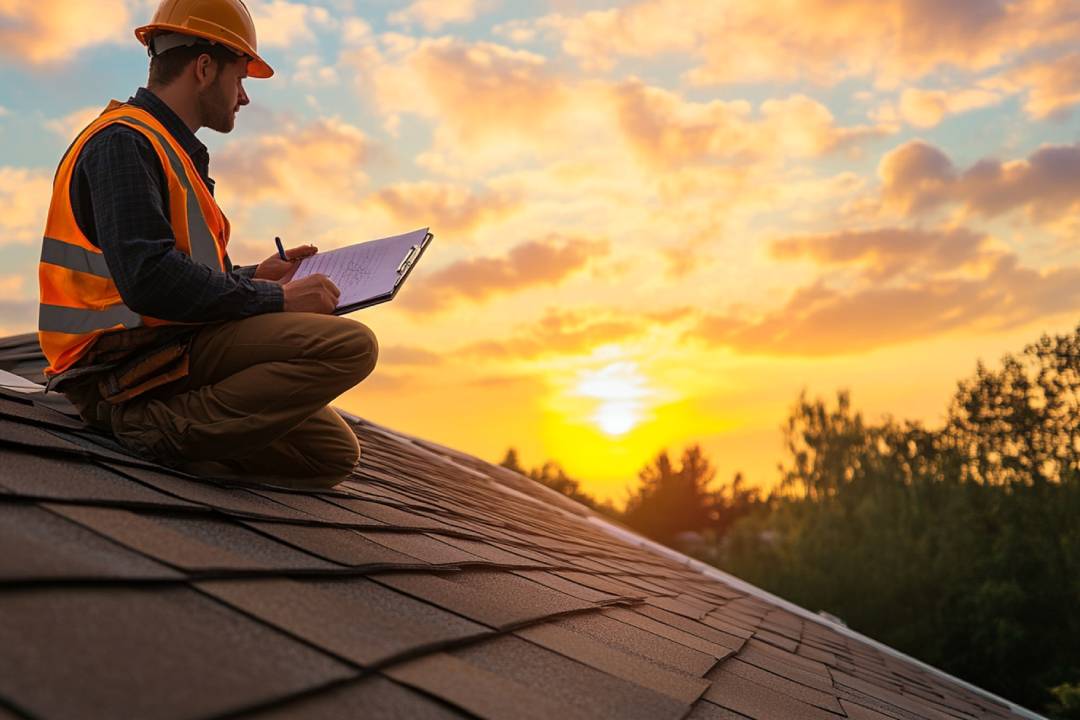
Step 5: Talk to the Insurance Adjuster
The insurance adjuster’s inspection will tell you how much of your repair will be covered. This step can have a big effect on the outcome of your claim.
How to Make an Inspection Go Smoothly
- Be there, or have your roofing contractor do it for you.
- Share all of the paperwork and results of the inspection.
- Ask them how they figure out how bad the damage is and how they rate it.
During this meeting, our experts often go with homeowners to make sure that all problems, even small or hidden ones, are properly recorded and reported.
Step 6: Look Over the Insurance Quote
After the adjuster finishes their report, you will get a claim summary or estimate that shows the repairs that have been approved.
Read Carefully
Be sure:
- All damages caused by storms are included.
- The prices of materials and labor are based on what is common in the area.
- There are no missing secondary items, like gutters, vents, flashing, and so on.
If you think something is missing, Dimensional Pro can give you an extra report with proof to help you appeal or change the estimate.
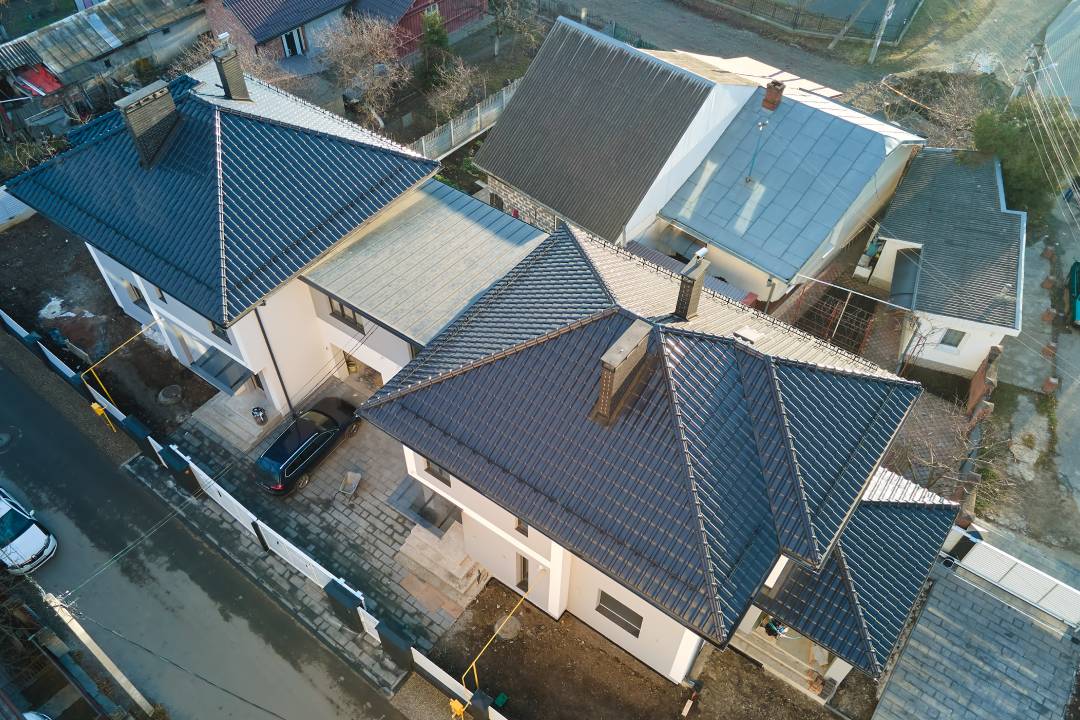
Step 7: Start the Repairs with a Contractor You Can Trust
You can go ahead with the repair or replacement once your claim is approved. This is the best part: your roof is finally being fixed.
Picking the Right Partner
Choose a roofing company that is licensed, insured, and has a lot of experience with storm restoration (like us). We take care of:
- Permits and planning
- Choosing materials and getting warranties from the manufacturer
- Inspections after repairs and quality assurance
Our goal is simple: to fix your home quickly, correctly, and safely, without putting you through any extra stress.
Step 8: Last Check and Paperwork
You and your roofing contractor should both do a final walk-through after the new roof is put on.
- Make sure that all repairs are done and that the work area is clean.
- Get the last photos and warranty details.
- Let your insurance company know that the work is done. If they hold back money, they may send you a final payment (a “depreciation” release).
This last step officially ends your claim and gives you peace of mind that your home is safe again.
In Conclusion
It doesn’t have to be hard to get back on your feet after a storm. You can protect your investment and get your peace of mind back by taking things one step at a time, from documenting the damage and filing your claim to working with a reliable roofing contractor.
Dimensional Pro has helped a lot of homeowners go through this same process. Our team knows what to look for, how to talk to insurance companies, and how to make sure your roof is built to last.
When the next storm hits, keep in mind that you’re not alone. We can help you with everything from the inspection to the installation and everything in between.
Are you ready to set up your free roof inspection?
Call Dimensional Pro today so we can get your home back to how it was before the storm.
Questions and Answers
Q1: How long do I have to make a claim for roof damage?
Most insurance policies give you up to 12 months from the date of the storm, but you should check your policy to be sure.
Q2: Do I need to get more than one estimate before I file a claim?
It’s not necessary, but a detailed, professional inspection from a company like Dimensional Pro is usually enough.
Q3: What do I do if my claim is turned down?
You can ask for a second inspection or file an appeal. A professional roofer’s documentation can make a big difference.
Q4: Can I make temporary repairs while waiting?
Yes, cover any open areas with tarps or plywood to keep water from getting in. Just remember to keep the receipts so you can get your money back.